I love pre-cuts.
There I said it...
I love pre-cuts.
They are a lazy person's dream come true.
This quilt is made with a Jelly Roll. I purchased it through the
Missouri Star Quilt Company
A Jelly Roll consists of
42 strips of fabric
that are 2.5" wide
and the width of the fabric long.
They usually contain most...
if not all of the fabric in that line.
They are great..
I have several of them that I can't wait to use!
I started looking around for ideas for a jelly roll and of course I went to MSQC first. I found a couple tutorials on the fence rail pattern. This is the one I based my quilt on.
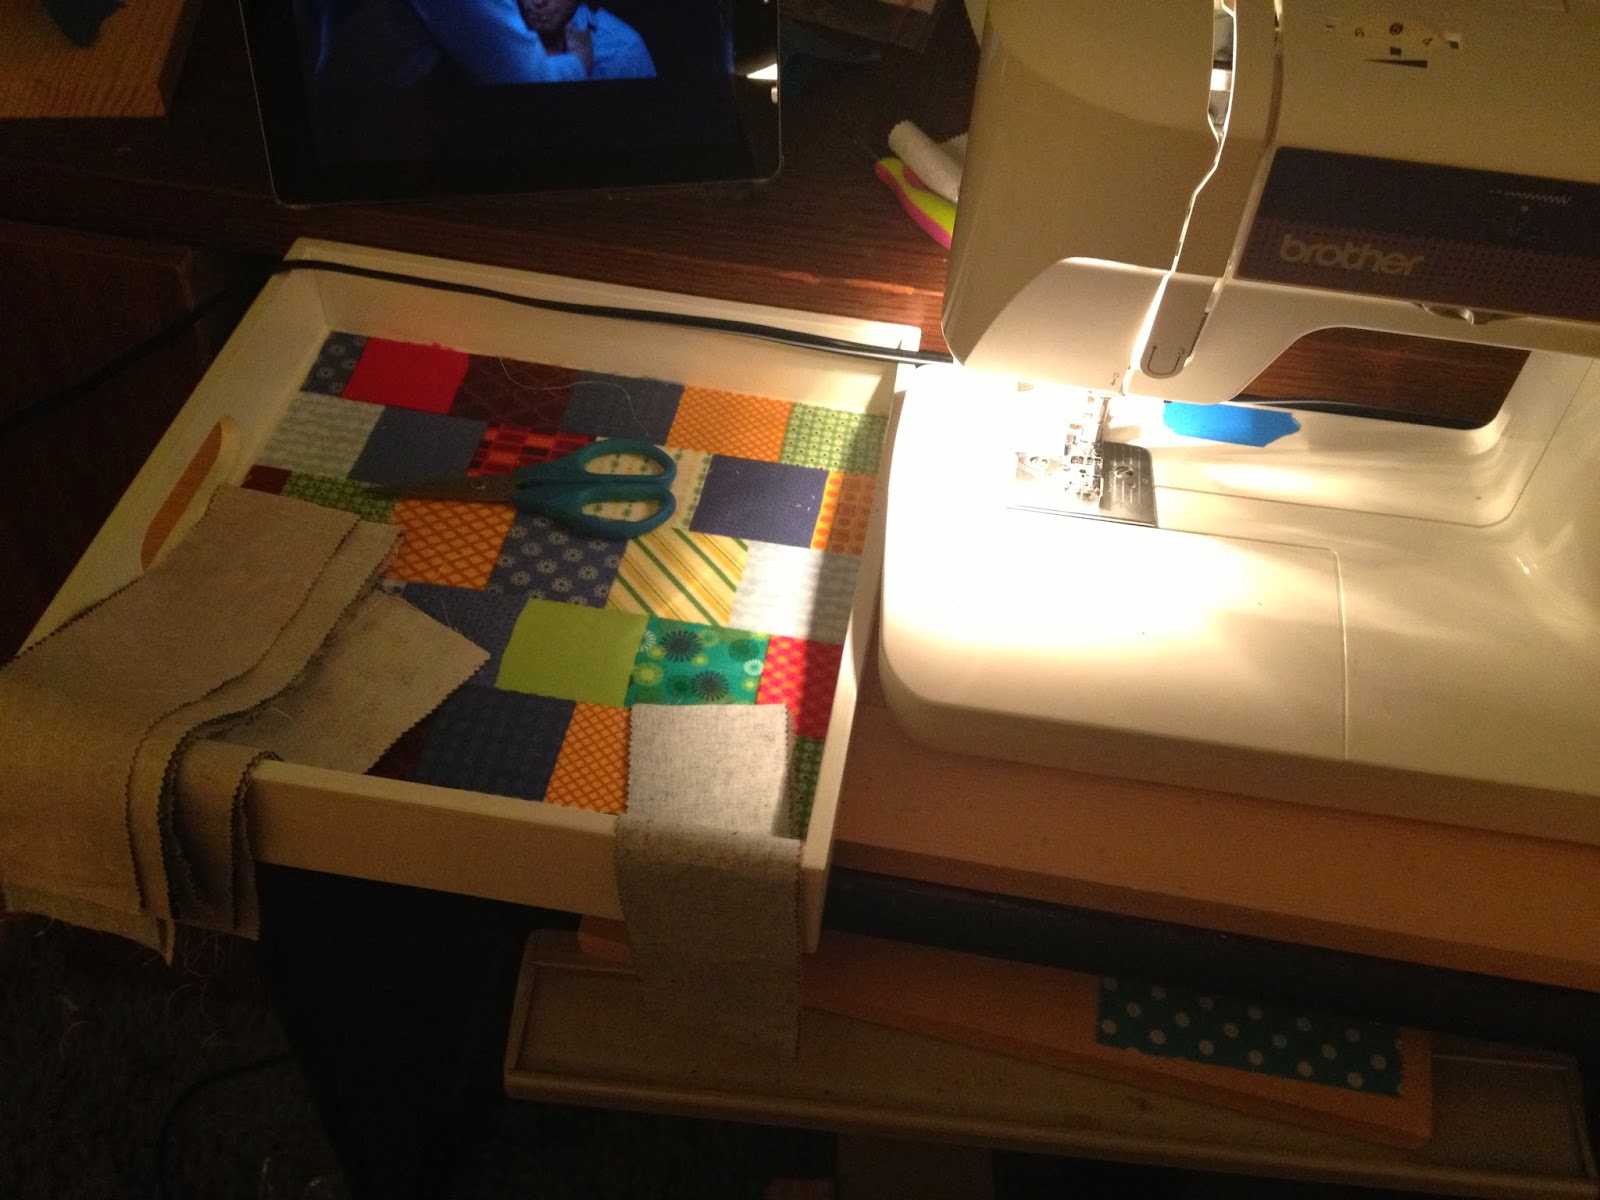
I started out by cutting my strips and watching a great movie at the same time...
Threw them all in a bowl.....
and started sewing them together....
blue to tan...
Lots of strips...
That need to be pressed.....
Decision time....
the beige to the tan,
or the beige to the blue.... ???
the tan wins!
Next I trimmed them down to be square
and ended up with a nice sized block
with bonus border material to spare!
I really really love this design wall....
and it was free... even better....
I was all prepared to buy batting...
and foam insulation boards...
and get all Pinterest on my wall, ...
when I saw a Quilty video
and Mary said all nonchalantly...
use a tablecloth....
what do ya know....
its awesome...
it works...
its huge and I already had it....
FREE is for me!!!
Now my blocks are sewn into rows....
but not yet sewn together...
but not yet sewn together...
Next its on to pinning and sewing the rows together....
its starting to come together now...
and making sure to nest my seams....
And next thing you know...
I have the start of my quilt top...
I have the start of my quilt top...
wonky as it may be...
it's got character that's for sure.
I bought over 4 yards of my backing fabric so that I would have enough for a border
and after all the cutting and pinning
and sewing and pressing....
we have our border!
I'm starting to think,
this might just come out ok...
Remember the scraps from the blocks?
Here they are...all nice and pressed
so i didn't bore you with sewing a bunch of three inch seams...
we skipped right to pinning the scrappy border!!
and its attached...
Pressing.... again....
Trimming....again....
and it's time to go to the kitchen
and make myself a sammich....
Backing fabric... right side down
Batting.... both larger than the quilt top...
and then the quilt top
and you have yourself a quilt sandwich...
There might be an advantage to procrastinating...
Not that I have been procrastinating, on this project
but in my mind... if I had the time...I definitely would have procrastinated because of this next step
Quilting... this is my weak point... trying to sew a straight line is nearly impossible for me...
this is my third quilt...
My third attempt at quilting something so large
and I think it came out the best so far
I started in the corners of the quilt and with my 6x24 ruler I started drawing my lines with my Mark Be Gone marker. My intention was to create an X through each and every block...
It took a lot of line drawing...
I forgot to take more pics of my lines...
But here they are sewn
not too bad... it looks good...
Very good...
See...
It's binding time!
I cut my strips to 3" for this quilt
I didn't want to run into problems like I have before
I attached the binding to the back side of the quilt
with about a 1/2" seam
Look Mom...No Clips!!
When I attached the binding I started it in the middle of the long side
leaving about a 10" tail....
now that I made it around the quilt...
this is where I needed to make them meet.
I trimmed off most of the excess binding and clipped it down
then opened the seam of one end.
This created a little pocket for me to tuck in the other end of the binding
I clipped it down again and ran it through the machine.
One time all the way around... turned it over... flipped the binding to the front...
and sewed it all around again, and I was done...
it was a breeze... so easy...and now she's done...
I really like the way this one came out... and so did my step dad Donald... and that's all that counts!!!
Thanks for reading....
P.S. I started this quilt on 9/8/13 and finished it just in time for Christmas on 12/22/13


No comments:
Post a Comment